the perfect wayLooking for an easy and satisfying DIY UV resin idea? Try these DIY compact mirrors! These are great because you can give them as gifts or. use as promo items for your art.

I made these compact mirrors for a recent event. It was the perfect way to show off my art in a useful way, and putting my illustrations on compact mirrors was perfect. UV resin to sealed it all in. People LOVED these and I’m excited to make a new batch to sell!
UV resin idea: DIY compact mirrors
We’re giving plain plastic mirrors a total glow-up using favorite photos, Sharpie Acrylic Markers, and a coat of glossy UV resin. They’re artsy, personal, and packed with personality — just like YOU!
Video link to UV Resin DIY Compact Mirrors
Supplies:

Compact mirrors – There are different varieties, I liked this style because it felt more solid, even though it was a bit more pricey.
Images printed on glossy photo paper.
Scissors
Extras: Flat-back crystals, glitter, etc.
Directions:
1. Prep your compact mirror
Wipe the top surface clean — it should be smooth and dry. If the mirror is shiny or glossy, give it a light buff with fine sandpaper to help everything stick better.

2. Choose your image
Pick a photo or printed image you LOVE. This could be your pet, a favorite selfie, a mini altar image, or even a quote. Trim it to fit the top of the compact mirror.
3. Glue the image
Use craft glue to secure the image to the mirror’s surface. Smooth out any bubbles. Let it dry completely before moving on.

4. Add your Sharpie magic
Once dry, use Sharpie acrylic paint markers to decorate around the photo. Add doodles, patterns, hearts, words — whatever you’re feeling! Let your creativity go wild.

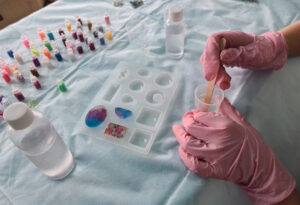
5. Apply UV resin
In a well-ventilated area, apply a thin, even layer of UV resin over the decorated top. You can also add tiny glitter pieces or charms at this stage.

6. Cure under UV light
Place your mirror under a UV lamp for about 2–3 minutes until it’s fully hardened. No UV lamp? Set it in direct sunlight for 10–15 minutes.

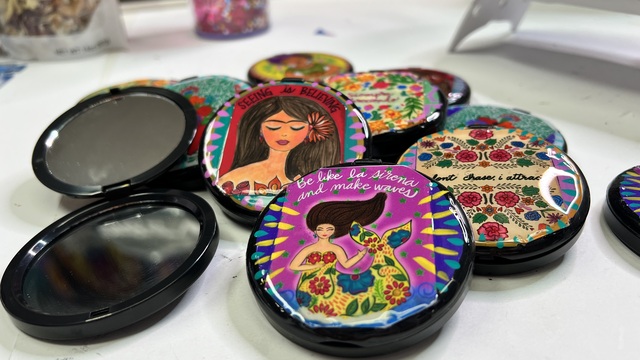
7. Admire and repeat!
You now have a stunning, one-of-a-kind compact mirror. Make a bunch for gifts, your online shop, or to swap with fellow crafty amigas!
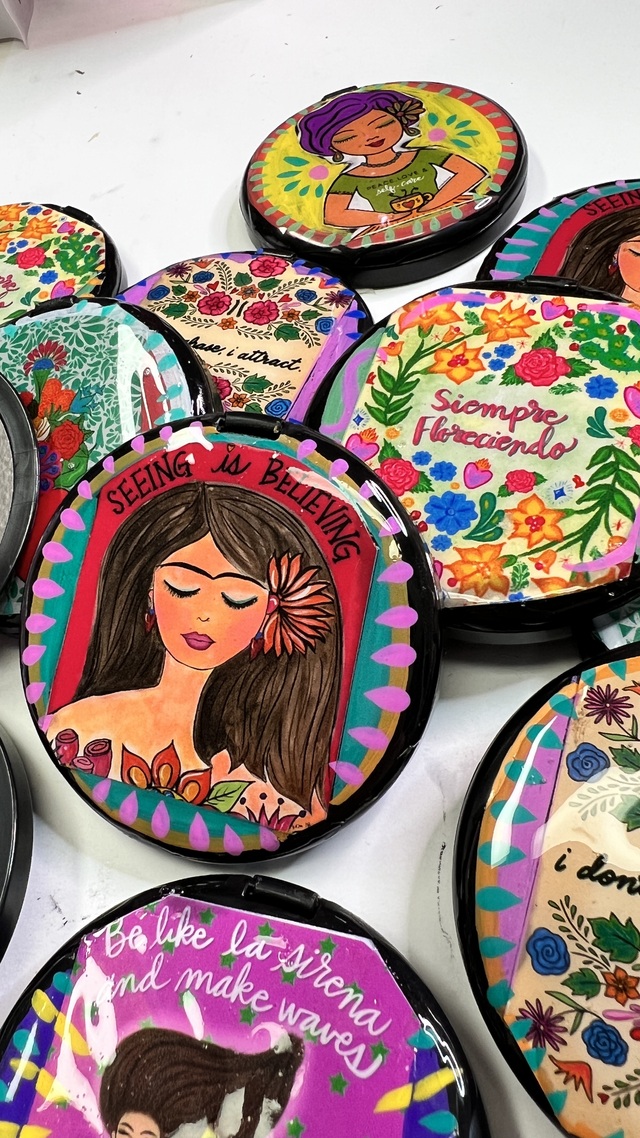
Here are the finished results:

RELATED:
More UV resin:
How to make uv resin keychains – w/ GLITTER!