Let’s learn about the jewelry tool basics. This overview will come in handy!

To dive into the dazzling world of jewelry-making, it all starts with the right tools! Think of these as your creative sidekicks because each one has a specific job.
Jewelry tool set I use in my studio
Whether you’re making charm strands, earrings, or talismans, these three essential tools will give you the confidence to cut, loop, and connect like a pro.
I swear by these. You want your work to look polished and professional and that comes with using the proper tools. And it makes the process so much easier. Plus, you’ll save your fingers and reduce frustration—no more wrestling with stubborn jump rings or uneven wire loops.
Once you learn how to use these tools, there’s no limit to what you can create. Let’s break them down so you can start making magic, one loop at a time!
Jewelry Tool Overview
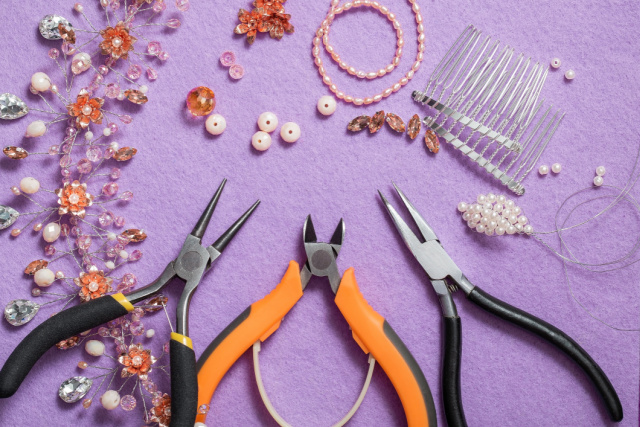
Wire Cutters
Use: To cut jewelry wire, headpins, eye pins, or chain links.
Think of these as your craft scissors for all things metal!
Crafty Tip: Always point the sharp end away from your face, and snip with control to avoid flying wire bits.
Round-Nose Pliers
Use: To create loops and curves in wire—perfect for making charm connectors, dangles, and links.
The round shape helps you form smooth, even circles with 18-gauge or thinner wire.
Crafty Tip: For consistent loop sizes, always wrap your wire at the same point on the nose of the pliers.
Chain-Nose (Needle-Nose) Pliers
Use: To open and close jump rings, grip small items, or flatten and press wire.
These have a flat inner surface, which gives you control without leaving marks on your jewelry pieces.
Crafty Tip: Use two pairs (or one plus your fingers) when working with jump rings—one to hold, one to twist open/closed.
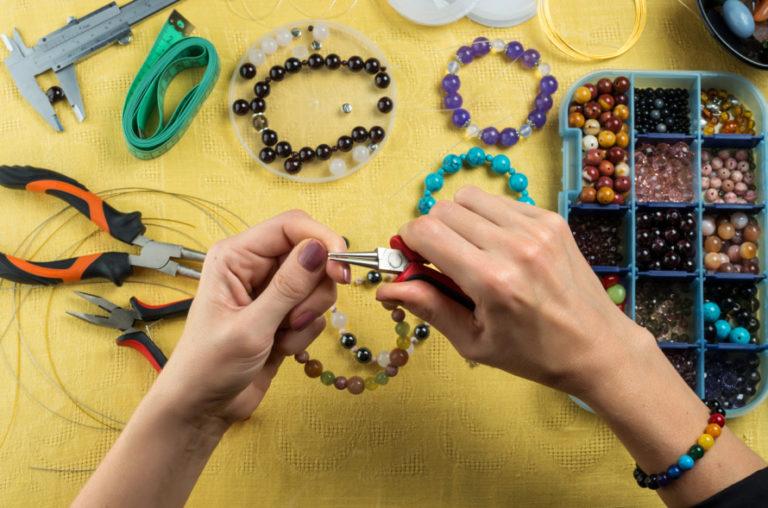
Tips for using jewelry tools
Using the right tools is a game-changer, but knowing how to use them makes all the difference. Here are a few of my go-to tricks for getting clean, professional results.

Open jump rings the right way. Don’t pull them apart like a wishbone. Instead, hold the ring with two pairs of pliers and gently twist one side forward and the other back. This keeps the shape intact and makes closing it seamless.
Make consistent wire loops. When using round-nose pliers, mark the barrel with a permanent marker where you want your loops to land. This gives you evenly sized loops every time.
Flatten your wire ends. If your cut wire is a little sharp or uneven, use your chain-nose pliers to gently press the end down. This makes your pieces more comfortable to wear and look more finished.
Grip gently. You don’t need to squeeze your pliers super tight—just enough to hold things steady without nicking or denting the metal.
Starter kit checklist for jewelry making
Here are the basics I suggest you start with. You can add on as you become more confident, or if you want to do some experimenting!
Basic tools:
-
Round-nose pliers
-
Chain-nose (needle-nose) pliers
-
Wire cutters
Materials:

-
Jump rings (6mm–8mm)
-
18-gauge craft wire (silver or gold plated)
-
A variety pack of beads
-
Charms or pendants
Extras:
-
Small containers or a bead box for storage
-
A chain spool for making necklaces or hanging charms
-
Earring hooks if you want to make earrings
This list will get you through dozens of beginner projects, and you’ll likely become obsessed like me!
RELATED:

How to make a scarf necklace with charms
Beaded Bliss: DIY charm bracelet and rings