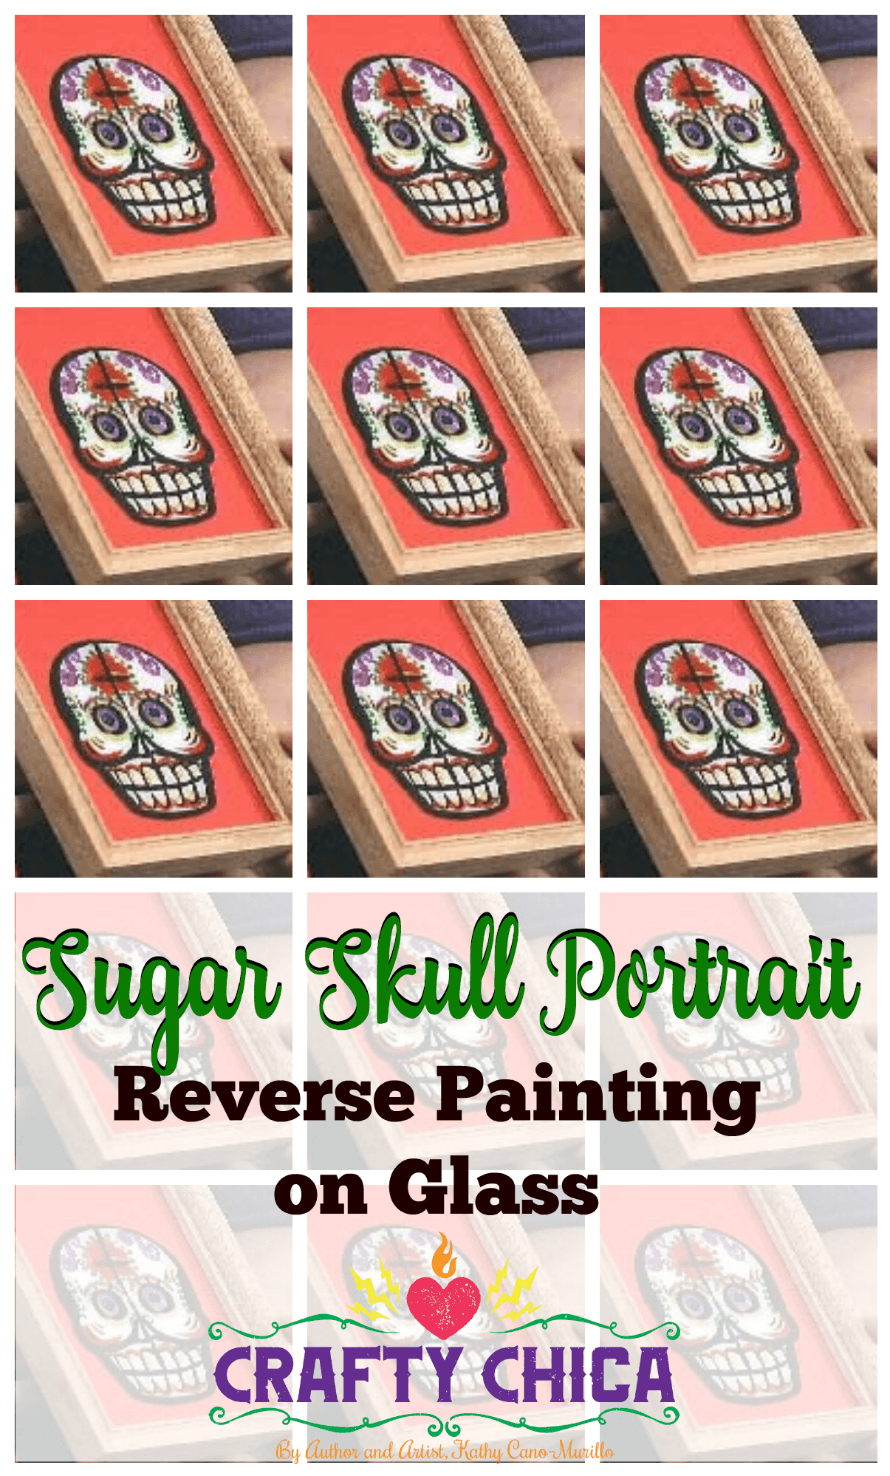
While everyone else uses the same old decorations, you can add a distinctive touch to your altar by whipping together one of these lovely frames. Visit the local dollar store to pick up a batch of small frames and some paint. Give them as gifts or use them at your next fiesta’s table setting.
Supplies for DIY Dia de Muertos frame
- Frame with glass insert and backing
- Printed template (scroll down for the Crafty Chica template)
- Black paint markers (oil-based or acrylic paint pens work best)
- Acrylic paint
- Paintbrush
- Clear sealer, brush-on is fine
- Painter’s tape (optional, for securing the template and glass)
Video tutorial for this DIY Dia de Muertos frame
Directions:
Take apart the components of the frame.

Tape the template to your worktable, then tape down the glass so the design shows through.
Make sure the glass is clean and free of smudges.
Use the black paint pen to trace the design.

Because we are painting in reverse – add any lighter shades for highlights.
Let dry and add darker colors over those coats. Fill in all the open areas of the design.
Outline everything in white, this will make your design POP!

Add more designs all around the frame. First accents, then let dry and add a coat over it. Let dry and add a second coat.
Seal with brush-on varnish. Let dry for at least an hour and then assemble the frame. Don’t forget to add a picture of your loved one in the window of the frame!

You’ll end up with a beautiful art piece you can say you made!

Here is the template I drew that you can use. Please use this for personal reasons, not for commercial sale or for-profit. Please ask permission for any other type of usage!
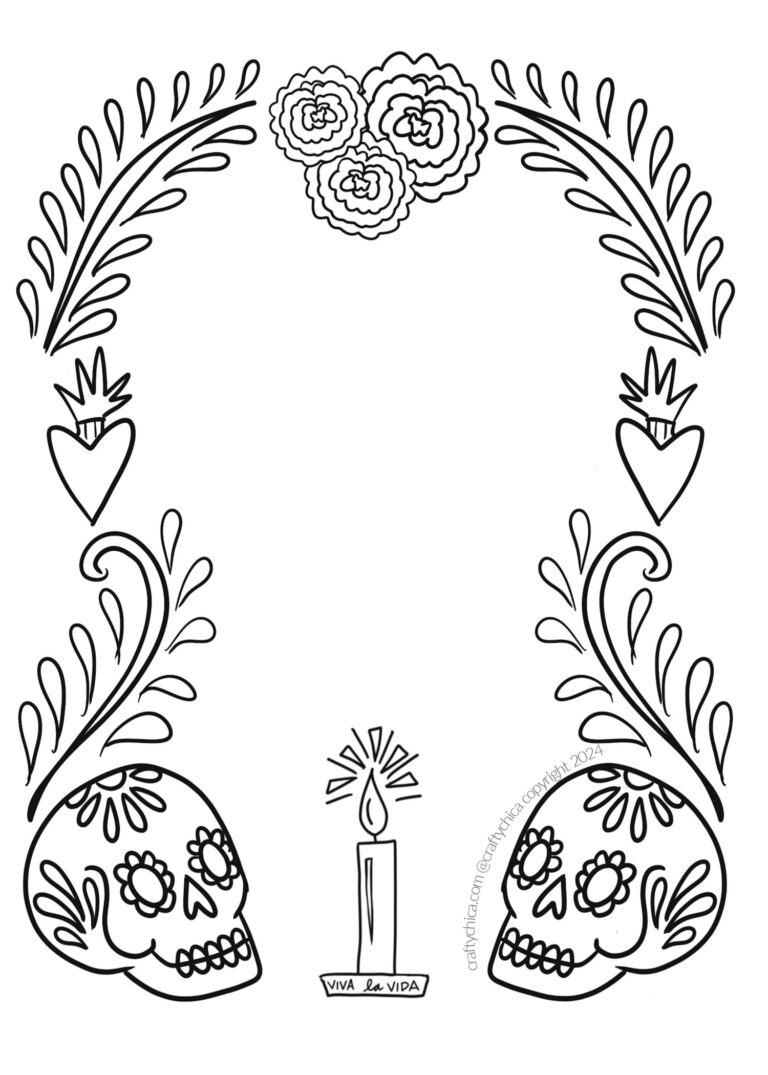
Here is another version – I made a sugar skull in the center of the glass!
RELATED: