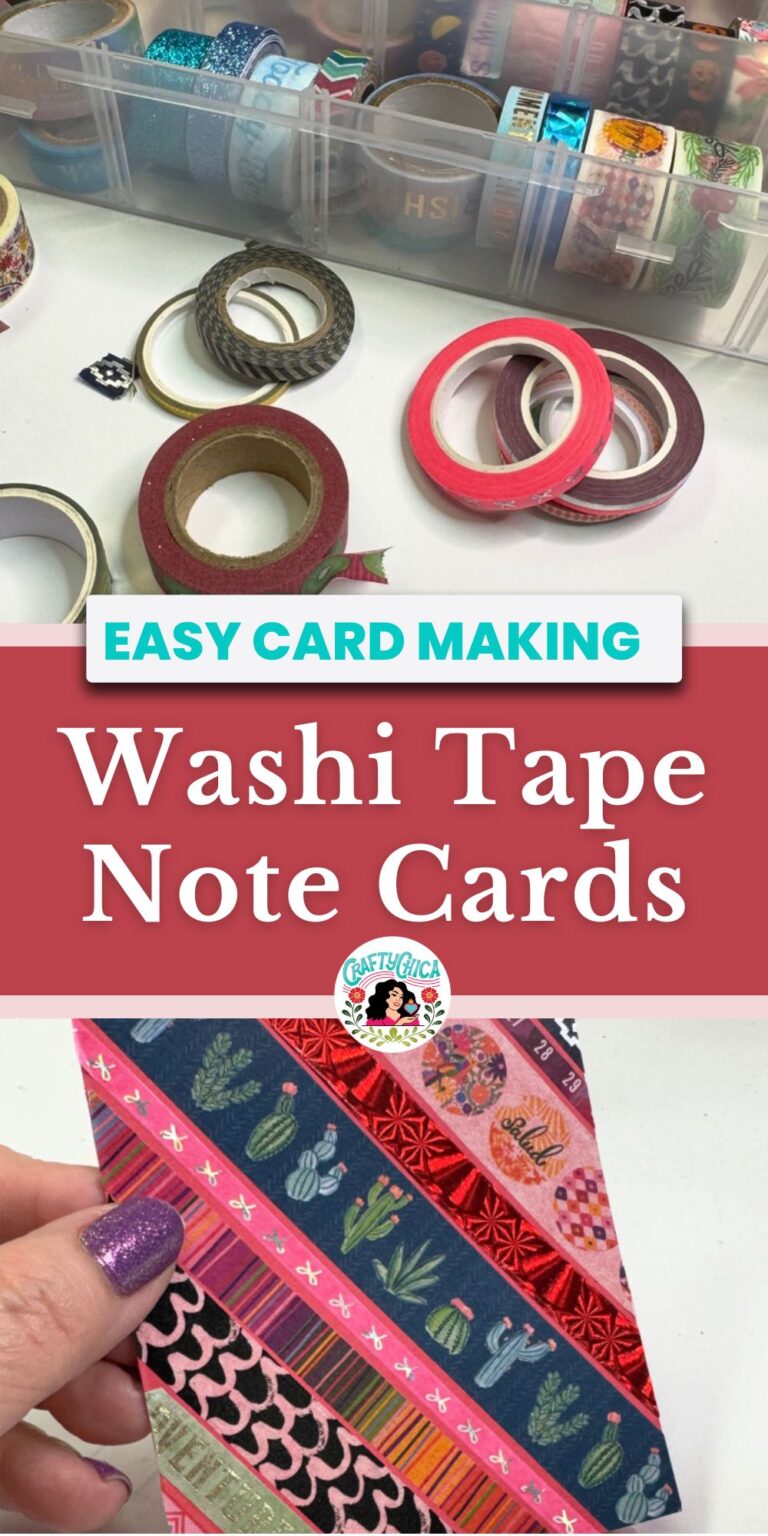
Here is an easy layered card making idea, let’s create washi tape note cards!

I feel like I am forever on a quest to use up my abundance of washi tape. I’ve made candles, journals, even picture frames! Now I’m using them for what they’re used for the most – card making!
Layered card making idea:
How to make washi tape note cards

Supplies
Assorted washi tapes. If you are a minimalist, you can stick with one color palette. However, I absolutely love contrast and texture, therefore in this project I used in a assortment of colors, widths, typography, and patterns.
A glue stick to firmly tack down the washi tape to the note card.
Note cards! If you do not have a package of these, simply cut 5 x 7“ of card stock and fold them in half. Or you can check out the dollar store or the craft store to see if they have any little packs on sale. Even if they have a design on the front, the washing table cover it up. This is also a great way to use up any heavy scrap paper that you have.

Embellishments
Metallic card stock or glitter card stock
Crystals, gems, sequins, etc.
Dimensional paint, I used Nova Crystal Drops from Tonic Studios
Washi Tape Note Cards directions
Directions
Set out all of your washing tape.
Decide if you want to run your washy tape vertically horizontally on the card.
You can even mix it up and do different sections at different angles.
Start in the middle with one of the washing tapes. Press it all the way down and extend beyond the edges of the note card just a little bit.
This will ensure a clean flushed edge because you will be cutting off the excess later.

Start adding the different types of washing tapes roll by row.
Leave a tiny gap between each one so the back of the card will show through. This is optional. If you want to completely cover the front of the card or card stock, line up the washy tape edge to edge to make a solid covered background.
Once the front of your card is layered with the card stock, go in with a glue stick to firmly secure all of the washy tape ends.
You can leave your washing tape note card just like this, I bet it looks beautiful already!
However, if you want to add some more dimension, choose a centerpiece image and a solid backing to fix it too. Use foam tape to give it a lift. Set it in place where you would like it.
Embellish

Add any other embellishments that you would like, maybe another small piece of card stock cut in a shape, or a border, whatever you’d like.
To really make it pop add some dimensional sparkle! I love these Nuvo Crystal Drops by Tonic Studios, the bottles are so beautiful and it makes me feel so elegant to use them in my paper crafting and mixed media projects.
They dry hard and non-sticky and it’s really easy to get nice even dots or straight lines.

Let your note cards fully dry. And then you can package them with a little envelope to give away. Or to keep for yourself.
I made a dozen of these washy tape note cards, and I am saving them to send out to friends for random acts of kindness. Also just to have on hand for a little thank you card here and there. And of course they can also be packaged up to sell.

More washi tape greeting card ideas
Mini landscape scenes
Use different washi tapes to create horizon lines—think sky, mountains, and grassy hills. Add stickers or stamped elements like birds, trees, or a sun. This can make a peaceful nature-themed card.
Washi tape quilt pattern
Cut or tear washi tape into small strips or squares and arrange them in a quilt-block design (like a log cabin, pinwheel, or nine-patch). It gives a cozy, handmade vibe—perfect for “thinking of you” or thank-you cards.
Washi tape word art
Use strips of washi to form letters or words like “LOVE,” “HI,” or “GRACIAS.” You can do this freehand or use letter stencils to help guide the tape placement.
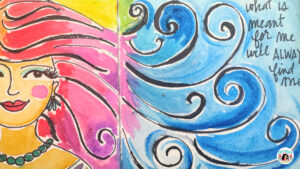
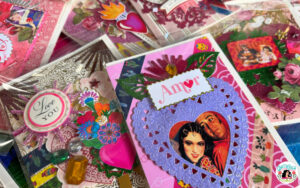
Mixed-media shrine card
Inspired by your heart design, layer washi tape in the background, then add a mini shrine focal point: maybe a milagro charm, a stamped Frida image, or a vintage photo cut-out. Accent with sequins or metallic paint pens.
Interactive flap or pocket card
Use washi to create a fold-up flap or side pocket on the card front. Tuck in a tiny note, affirmation, tea bag, or sticker. It adds a playful surprise element that people love.
RELATED: