Let’s tackle how to clean your craft room!
We pour so much love and creativity into our art. But let’s be real. Sometimes those mad-scientist crafty sessions get a little out of hand. We end up with half-finished projects, piles of “stuff,” and even dried-up paint tubes we think we are going to revive someday.
Let’s get our spaces organized together! This isn’t just about cleaning. It is about curating your joy. Making room for new inspirations and projects.
Think of it as preparing a beautiful altar for your muse! Crank up a chill playlist, maybe a yummy agua fresca, and let’s transform our creative havens together.
Purge.
The one-year rule: If you haven’t touched it in a year and it is not a precious heirloom, it is time to let it go. Don’t guilt yourself. That yarn that felt like a good idea a decade ago can be a fabulous shawl for someone else. Look for local community center or even craft thrift stores to donate. Maybe make a list of what you need and see if oyu can trade with someone.
The broken and busted bin: Say adios to dried-up markers, frayed brushes beyond repair and dull scissors. Investing in tools that work for you is a gift to your future self. Release, it’ll all be okay! DO NOT DONATE unusable supplies.
Create three piles: Keep, donate or sell, and trash. Be ruthless and realistic – but kind to yourself. 🙂

Clean.
Clear space: Now that you have purged, it is time to clear every surface. Take everything off your desk, shelves and tabletops. This allows you to see your space with fresh eyes.
Wipe down every surface: Get into those dusty corners, under the cutting mats and behind the yarn baskets. Don’t forget light fixtures and window sills.
Sweep, vacuum or mop the floor: Move furniture out of the way, get behind and under the big pieces. Get rid of all those rogue glitter particles, thread snippets and teeny paper scraps.

Curate and organize.
Now comes the fun part: Putting things back in a way that makes sense to you. This is about flow, not perfection.
Group “like with like:” Put all your paints in one area, all your papers in another and all your bling in a designated spot. I have two cabinets, one is for fabric and jewelry making, the other is paper, resin, and glues. At my workstation is easy accessible paints, basic tools, etc.

Label.
Label all the things: Visibility is key. Use clear containers, jars and open bins whenever possible so you can see what you have. If you can’t see it, you won’t use it.
Use what you have: Don’t have a fancy label maker? Use handwritten labels. This is key to keeping the flow – and it will save you significant time and frustration.
Layout.
Rearrange: Arrange your furniture and storage in a way that supports your creative process.
Think about work zones. I have a shelf for projects to work on so I don’t forget them. Think about how you move through your space.
Keep your most-used items within easy reach of your main workspace. The less you have to get up, the more time you spend creating.
Once everything is organized, put back those pieces that inspire you. Whether it is a photo of loved ones or a spiritual symbol, let your space reflect you.
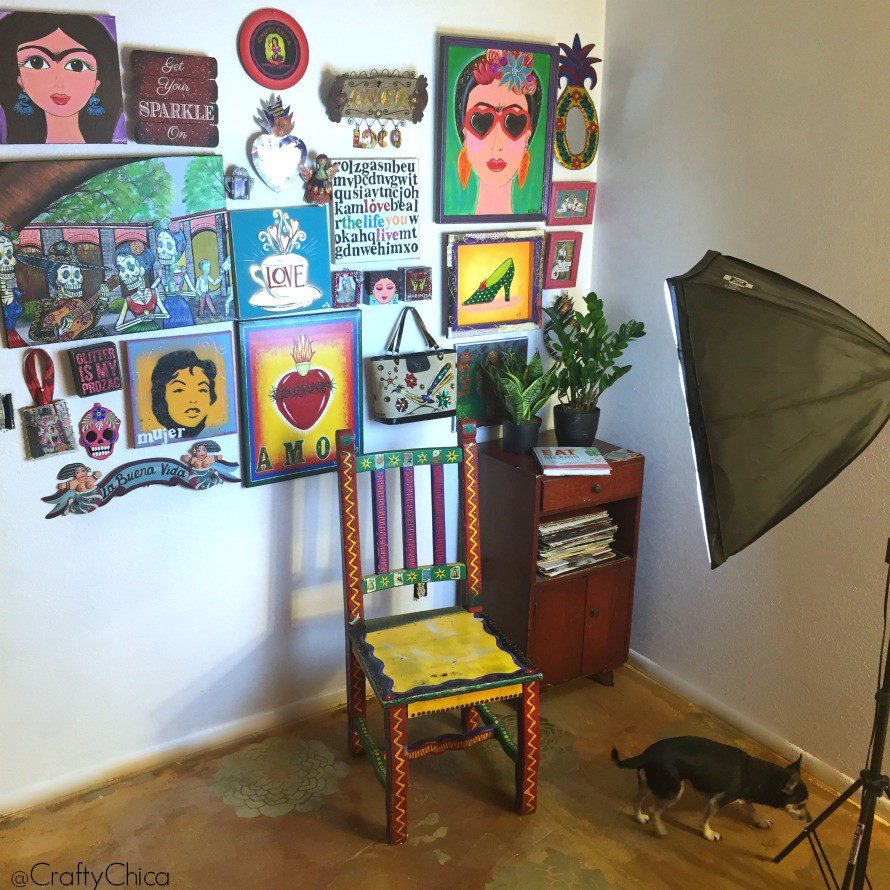
Decorate.
This is my favorite! Surround your work area with pictures, art pieces, quotes, anything that inspires you. Or you can also put up wall organizers, either way – add personality to keep you happy and motivated.
Go-to areas at your worktable.
This saves time and money! At your work table, keep a bin or use drawers, nearby shelving to place items you use on the regular. Keep the extras in the bigger storage bins. That way you can use what you have, and easily replenish.
Example: At my work table I have an IKEA set up with two sets of drawers on either side of me.
Left side: Top drawer is a catch-all for video production (make-up, stands, etc), laptop, iPad, drawer of pens, drawer of brushes.
Right side: Scissors, clips, adhesives, tools, paints.
Remember: Don’t put it down, put it away!
And that’s how to clean your craft room, Crafty Chica style. Now, go make something awesome!
RELATED: