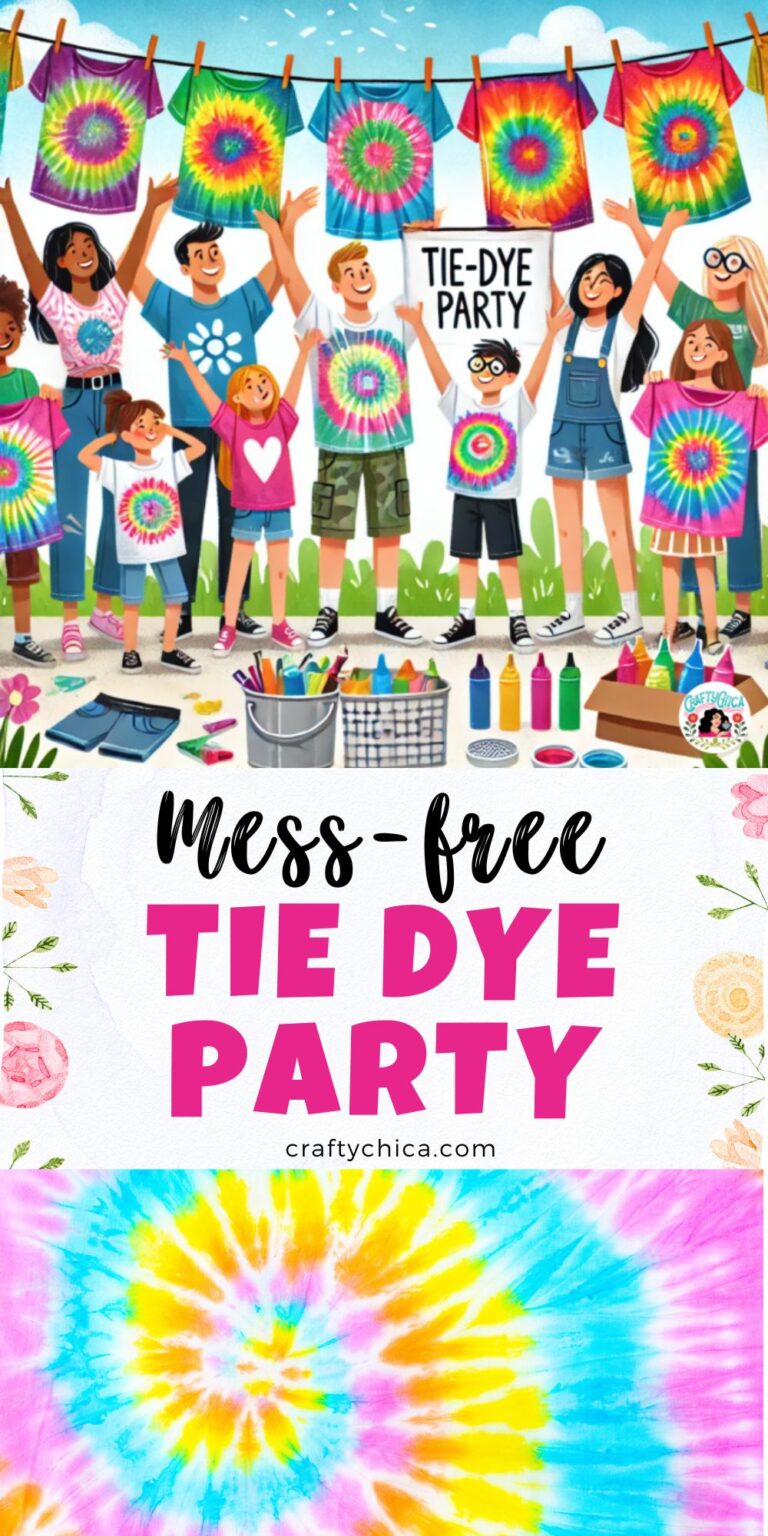
Here are easy and mess-free ways to of how to throw tie-dye party – a perfect activity for any type of happy gatherings!
Rather than have a bunch of little activities, you can have one big project. It’s a great way to get people. up and talking and connecting with each other. And every time they wear their shirt, they will think of your party!
How to throw tie-dye party
Guest list: Is it for adults or kids? If it is the latter, you’ll need extra room if parents want to help their kids.
Location: I suggest outside with plastic-covered tables set up. That way if any dye spills, it won’t stain anything in your house. If you do make it inside, use a drop cloth to be safe!
Supplies for a tie-dye party:

Tie dye kits: I’ve only ever used Tulip One-Step Dye, it is easy because it comes with the powder and you simply add water and shake to mix. I suggest this kit.
How many you need: You should be able to get about 10 kid shirts and/or 5 adults with this kit. HOWEVER – you can buy this set of refill packs that are super convenient.
Cotton shirts, pre-washed (to remove sizing). IDEA: Rather than buy brand new, visit a local thrift store and buy some white t-shirts there! Sometimes you can find really cool designs printed on them that go with the tie-dye. More about the best fabrics to dye here.
Paper towels and wipes.
Resealable plastic bags. This is so your guests can neatly take their project home to allow the dye to set.
Cheap aprons.
Plastic gloves (the kit comes with them but you may need more).
Rubber bands or zip ties. The kit comes with rubber bands, but you may need more.
Buckets or medium sized-plastic bins.
Large bucket of water for rinsing bucket/bins.
Spray bottle of water.

Prepping the Fabric
Unlike traditional tie-dye methods, Tulip One-Step Tie-Dye does not require pre-soaking in soda ash. Simply dampen the fabric with water to help the dye absorb evenly.
NOTE: The dye works best on damp fabric. Therefore:
An hour before your guests arrive, run the shirts in your machine (no fabric softeners). Remove them damp and keep in a plastic bin with a lid. This will save time from having to dampen the shirts before dyeing them.
Setting Up the Tie-Dye Stations
To keep things fun and organized, set up different stations:
Folding and Binding Station

At this station, guests can choose their tie-dye design and secure their fabric using rubber bands or string. Popular designs include:
- Spiral: Twist fabric from the center into a tight spiral and secure with rubber bands.
- Bullseye: Pinch the fabric in one spot and wrap rubber bands every few inches.
- Accordion or Scrunch: Fold the fabric like a fan or scrunch it up randomly and bind with rubber bands.
- Striped: Fold fabric in pleats for horizontal or vertical stripes.
Provide printed examples or quick demonstrations to help guests visualize their designs.
Dye Application Station
To minimize spills and dye stains, set up a dyeing area with plastic-covered tables and gloves.
Set up a row of the buckets/bins, one per person. Tell your guests to only work over the bucket/bin. If they want, you can have some wire shelves for them.

Guests can apply dye using the squeeze bottles, working over the plastic-covered surface to catch excess dye.
Use spray bottles of water to dampen shirt if needed.
Encourage layering complimentary colors and leaving white space for a more dynamic look.
Sealing and Setting Station

After dye application, guests should carefully place their items in a zip-top bag to let the dye set.
Label bags with names and provide take-home instructions: leave the fabric sealed for at least six to eight hours before rinsing under cold water until it runs clear, then wash separately in hot water with detergent.
Clean-Up Tips

- Cover all tables with plastic or disposable tablecloths.
- Have plenty of paper towels and wipes on hand for spills.
- Use a hose or large sink for quick hand washing.
- Dispose of dye responsibly—do not pour excess dye down storm drains.
- Encourage guests to wear old clothes to avoid accidental stains.
Final Touches
Provide a drying rack or clothesline for guests who want to open their designs before heading home. For extra fun, set up a photo area with a colorful backdrop where guests can show off their tie-dye creations.
Hosting a tie-dye party is a fantastic way to encourage creativity while making memories.
By setting up organized stations and following these steps, you’ll ensure a stress-free event that’s enjoyable for all ages!

RELATED:
DIY Tie Dye Heart Pattern on a Shirt
Drawing and painting with tie dye