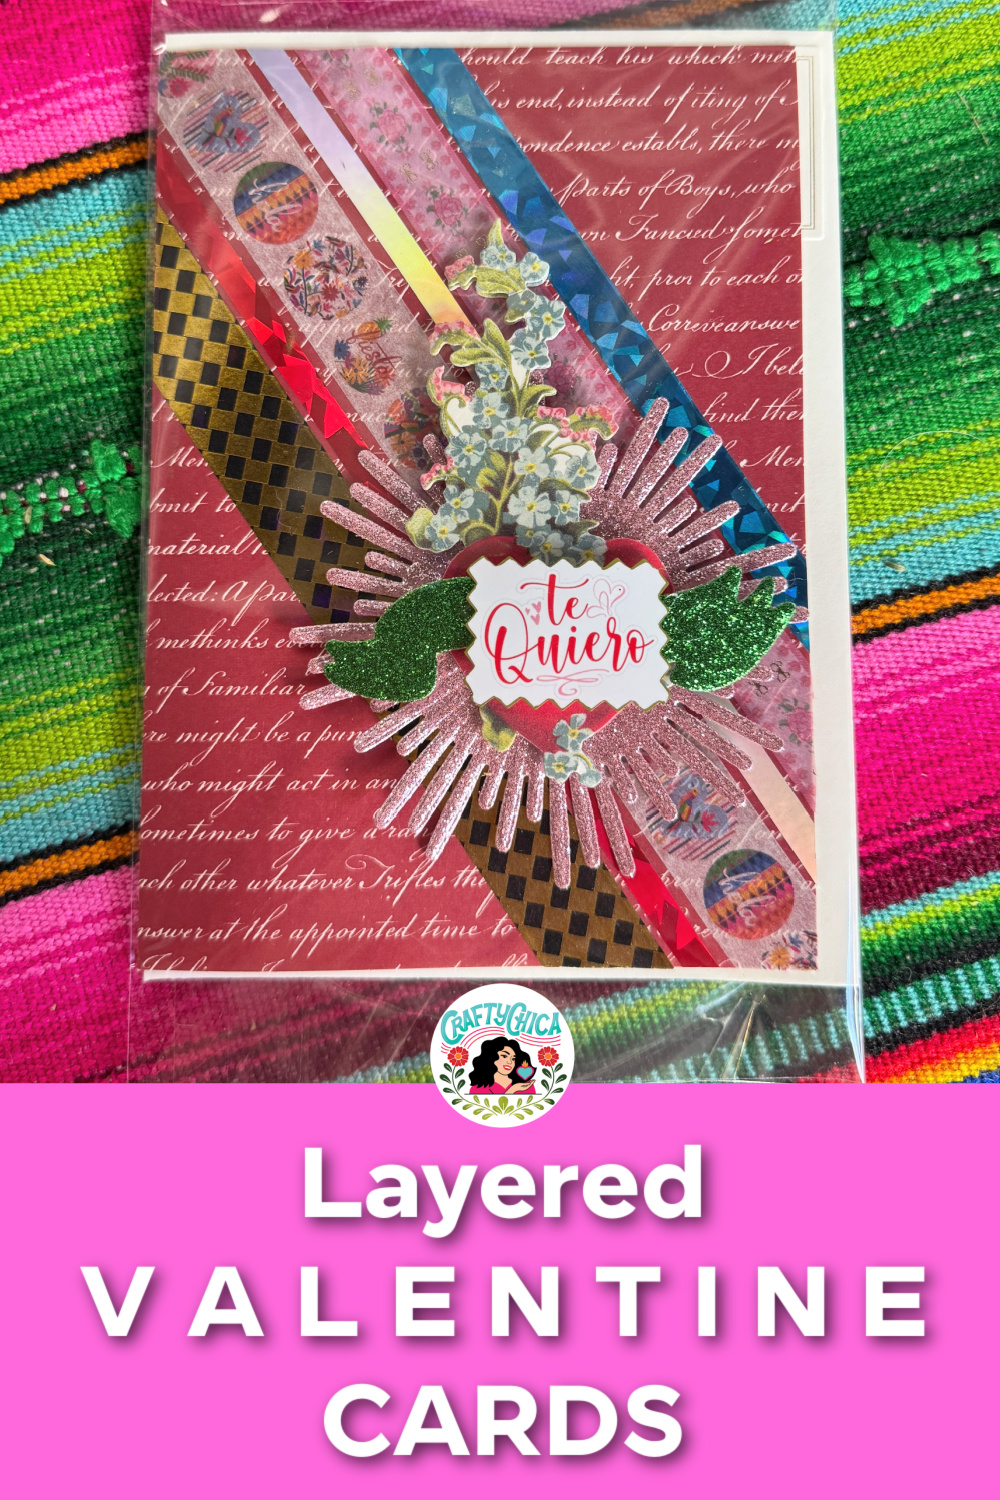
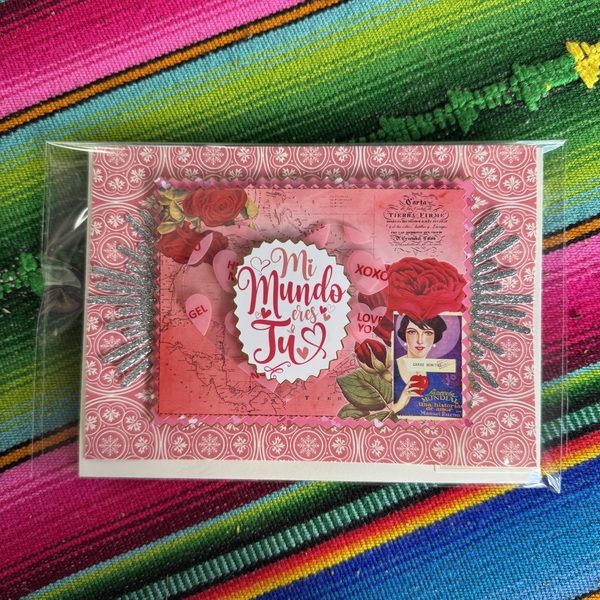
Check out my new batch of layered Valentine cards! I made almost two dozen of these, and would have made more if I didn’t need sleep!
I’ll share my process of making these below, but I did also list them for sale in my online store HERE.
Supplies to make layered Valentine cards:
Card bases or folded cardstock.
Decorative papers (scrapbook paper, handmade paper, book pages, or patterned cardstock).
Washi tape in coordinating colors or themes.
Die cuts or chipboard pieces (hearts, florals, labels, banners, icons.).
Foam tape or foam dots.
Paper trimmer or scissors.
Glue or tape runner.
Glitter cardstock, stickers, ribbon, sequins, or metallic accents.
Most important: Focal point images!
Directions:
Keep in mind you can do your own thing and layer your elements however you wish. These are simply guidelines I used to make my cards, feel free to work your own magic!

Start with a blank greeting card. I love using ones that have a pattern on the front, it gives more character!
Choose a layer to go on the front of the blank card. I love using glitter cardstock and vintage-inspired dies.
Next, use another paper and trim it slightly smaller than your card base. Use a tape runner adhere it flat to the card. This gives you a clean foundation.
Add strips of washi tape across the background.
Run them vertically, diagonally, or crisscross them for a patchwork look. Let some pieces extend past the edges, then trim them flush for a tidy finish.
Tip: Mix wide and skinny washi tapes for more visual rhythm.
Add paper layers for depth
Cut one or two additional paper layers, each slightly smaller than the last. These can be decorative frames, doily-style die cuts, or simple rectangles with fancy edges.
Adhere at least one of these layers with foam tape so it sits raised off the card. That little bit of shadow makes everything pop! WARNING: Foam tape is so addicting to use!
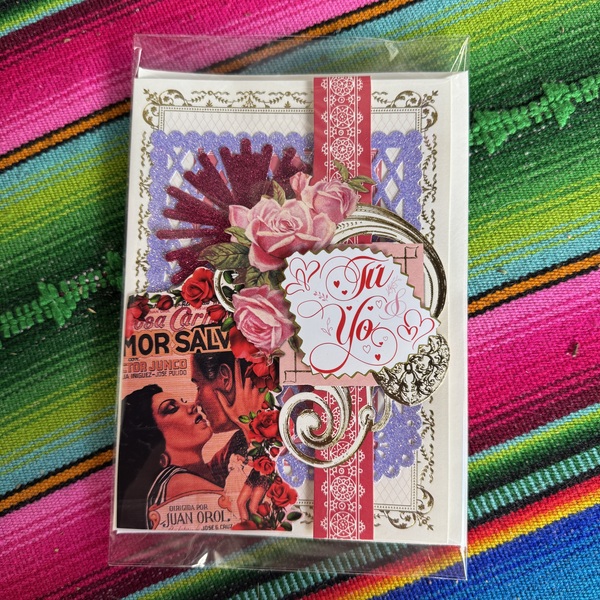
Build a focal point
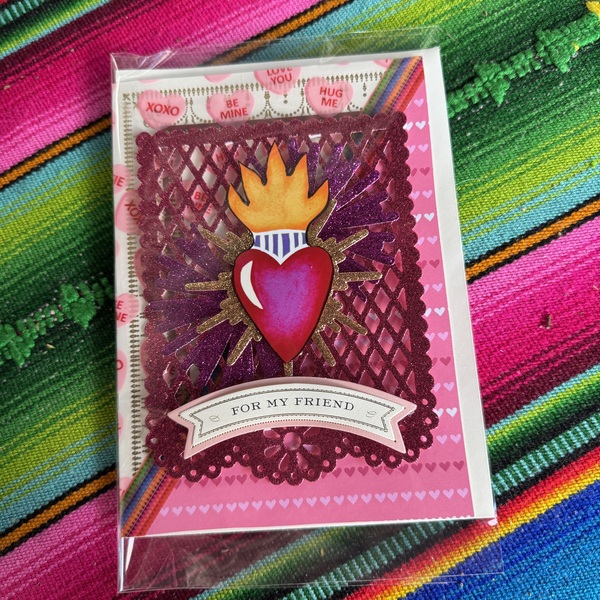
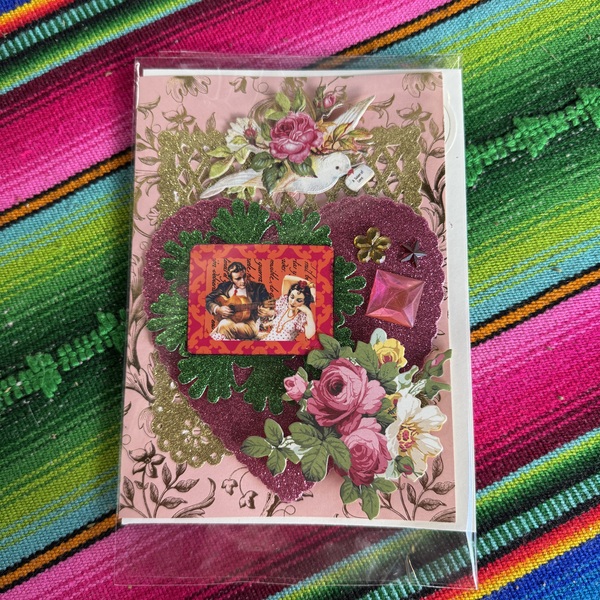
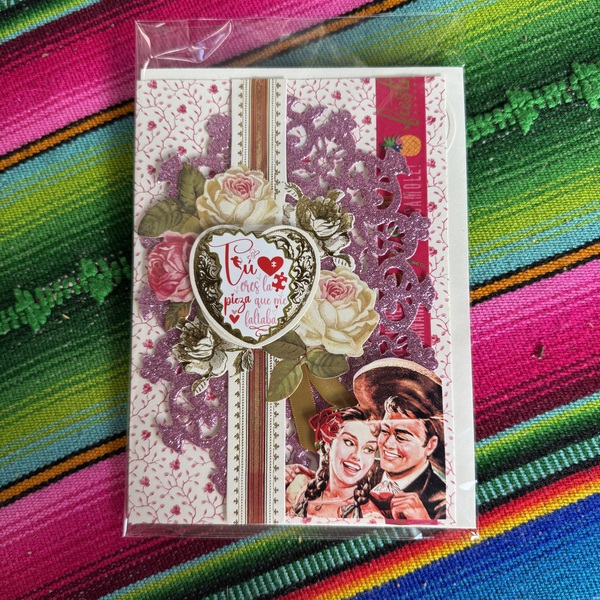
Choose a bold die cut or collage element to be the star of the card. Sacred hearts, florals, vintage-inspired labels, or romantic phrases all work beautifully.
Layer smaller die cuts behind the main image, like florals peeking out or sunburst shapes radiating outward. Attach this focal cluster with foam tape so it stands out from the background layers.
Finish with a sentiment
Add a sentiment strip, banner, or label near the bottom or center of the card. This can be a die cut, stamped phrase, or hand-lettered message.
Keep the wording simple so it doesn’t compete with the layers. Sometimes a few words are more powerful than a full sentence.
Final details that make it special
Look over your card and see where it might need a little sparkle or balance. A touch of glitter paper, a tiny sticker heart, or a strip of metallic washi can pull everything together. I even added gems on some of mine!
Once finished, slip the card into a clear sleeve or envelope to protect all those lovely layers.
Make it your own
The beauty of layered Valentine cards is that there are no rules. Mix modern washi with vintage papers. Go bold with color or soft and romantic. Make one card or batch-create a whole stack, each one slightly different.
These cards are perfect for friends, partners, or anyone who could use a little handmade love. And once you start layering, it’s hard to stop.
RELATED:
How to make handmade paper with confetti and glitter